01
Introduction
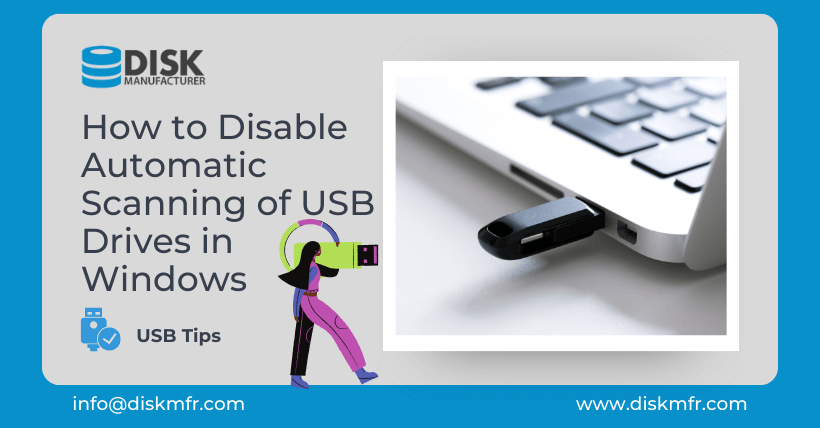
USB flash drives have become an indispensable part of our daily lives. However, have you ever encountered a situation where inserting a USB drive into your computer’s port caused an unexpected slowdown? If you’re nodding in agreement, don’t worry; you’re not alone. The reason behind this is that Windows automatically initiates a scan and repair process for USB drives, which can sometimes affect your computer’s performance negatively. But fret not, for in this article, we will show you how to disable this automatic scanning and regain control of your computing experience.
02
Why Does Windows Automatically Scan USB Drives?
Before we dive into the process of disabling automatic scanning, it’s essential to understand why Windows performs this action in the first place. When you insert a USB drive, Windows scans it to ensure it’s free of malware or file system errors. While this is a useful security measure, it can occasionally cause inconveniences, especially if you have numerous files on the drive or if the drive itself is responding sluggishly.
03
The Impact of Automatic Scanning on Computer Performance
The automatic scanning process can cause a noticeable slowdown on your computer, making it frustrating to use. This is because your system resources are temporarily diverted to the scanning task, which can result in unresponsiveness and decreased performance. To mitigate this issue, let’s explore how to disable this feature.
04
Step-by-Step Guide: Disabling Automatic Scanning
Follow these simple steps to disable the automatic scanning of USB drives on your Windows computer:
- Opening the Run Dialog: Press the Win+R keys simultaneously. This will open the Run window.
- Accessing “Services.msc”: In the Run window, type “services.msc” and press Enter. This will launch the Services application.
- Modifying “shell hardware detection”: Locate “shell hardware detection” in the list of services. Right-click on this item, and from the context menu, select “Properties.”
- Disabling Automatic Scanning: In the Properties window, under the General tab, you will find the “Startup type” dropdown menu. Change it to “Disabled.” After making this selection, click the “Apply” button, followed by “OK” to save the changes.
05
Conclusion
Congratulations! You’ve successfully disabled the automatic scanning of USB drives on your Windows computer. From now on, when you insert a USB drive, Windows will no longer automatically initiate the scanning process, providing a smoother and more efficient computing experience. We hope this guide has been helpful in improving your computer’s performance.
06
Frequently Asked Questions (FAQs)
Q1. Why does Windows scan my USB drive automatically?
Windows scans USB drives to check for malware and file system errors, ensuring the safety of your system. However, this can sometimes cause performance issues.
Q2. Will disabling automatic scanning affect my computer’s security?
Disabling automatic scanning might slightly reduce your computer’s security. To maintain security, use reputable antivirus software and be cautious when using USB drives from unknown sources.
Q3. Can I re-enable automatic scanning if needed?
Yes, you can revisit the “shell hardware detection” properties and set the startup type back to “Automatic” if you wish to re-enable automatic scanning.
Q4. Are there alternatives to disabling scanning for USB drives?
You can use third-party software to manage USB drive scanning or configure your antivirus software to handle this task.
Q5. Is it safe to use a USB drive without scanning?
It’s generally safe to use USB drives without scanning if you trust the source of the drive’s content. However, exercise caution when using drives from unknown or untrusted sources.
In this article, we’ve shown you how to regain control of your computer’s performance by disabling the automatic scanning of USB drives. This simple process can make a noticeable difference in your computing experience. If you have any further questions or need assistance, please feel free to reach out.


