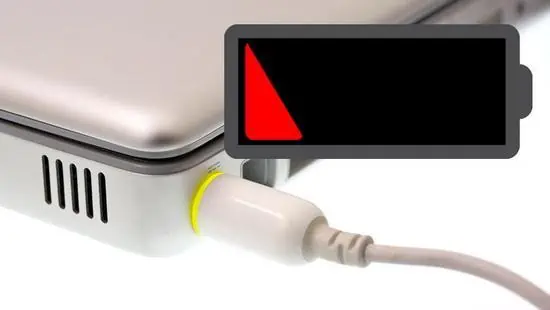
In our daily routines, laptops have become indispensable tools. Yet, at times, we encounter situations where the device functions properly but refuses to charge. This guide aims to provide effective troubleshooting steps for this common issue, ensuring your laptop’s optimal performance.
01
Understanding Static Electricity and Its Effects
Before delving into solutions, it’s crucial to understand the impact of static electricity on a laptop’s charging functionality. Static electricity can trigger protective modes in the battery, leading to charging issues.
02
Troubleshooting Steps for Charging Issues
Identifying Protective Mode
If your laptop’s battery or power light turns red or orange, it’s likely in protective mode. Simply unplugging and reinserting the battery can often resolve this issue.
Discharging Static Electricity
To eliminate static electricity, disconnect all external devices, power off the laptop, and hold the power button for 30 seconds. Repeat this process to safeguard the motherboard.
Power Management Software Check
Certain laptops come equipped with battery protection modes. Disabling this mode or checking for ‘Disable Charging’ options can rectify charging problems caused by power management settings.
Hardware Failure Diagnosis
When troubleshooting, consider potential hardware failures. Rebooting, reinserting the battery, or using diagnostic applications can help identify issues. Avoid attempting risky hardware repairs.
03
Common Hardware Failure Scenarios
Battery Aging or Damage
Old or damaged batteries may hinder charging. Replacing the battery becomes necessary in such cases.
Power Adapter Malfunction
Faulty adapters can disrupt charging. Testing with a replacement adapter might solve the issue.
Poor Battery Contact
Issues with battery contact may impede charging. Ensure proper contact by removing and reinserting the battery or cleaning the battery slot.
Charging Circuit Failure
Faulty charging circuits demand professional diagnosis and repair at specialized shops.
04
Self-check Safety Repair Methods
BIOS Battery Repair Process
Access the BIOS, initiate battery calibration, and follow the prompts for a complete discharge and recharge cycle. If this process fails to improve battery status, it may indicate a faulty battery requiring replacement.
05
Conclusion
Troubleshooting laptop charging issues involves a systematic approach. While software fixes can resolve some issues, hardware problems may necessitate professional intervention.
06
FAQs
1. How long should I perform the BIOS battery repair process?
The BIOS battery repair process can take up to 5 hours to complete, so it’s advisable to initiate it when the laptop won’t be in use.
2. Can using a different power adapter damage the laptop?
Using a different power adapter that meets the required specifications generally shouldn’t damage the laptop, but ensure compatibility for safety.
3. Why does the laptop’s battery enter protective mode?
The battery enters protective mode due to triggers like overheating or overcharging, safeguarding itself from potential damage.
4. Should I attempt to repair a faulty battery myself?
It’s advisable to avoid attempting DIY repairs on faulty batteries due to potential risks. Seek professional help for safe diagnosis and repair.
5. What if the laptop still doesn’t charge after troubleshooting steps?
If troubleshooting fails to resolve the issue, it’s best to consult a professional technician or service center for further diagnosis and repair.


