
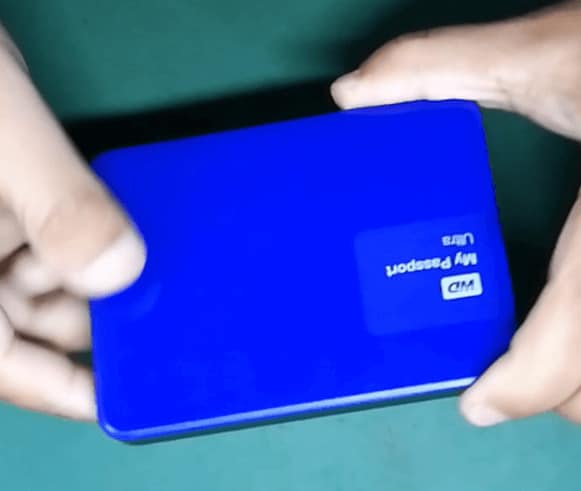
Hello everyone, today I restored a WD MY PASSPORT ULTRA 1T external hard drive from our customer that was dropped and no longer recognized by the system.
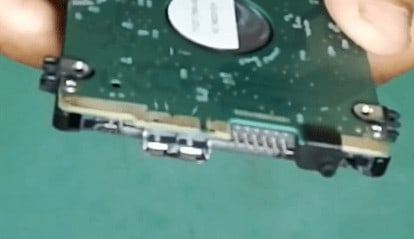
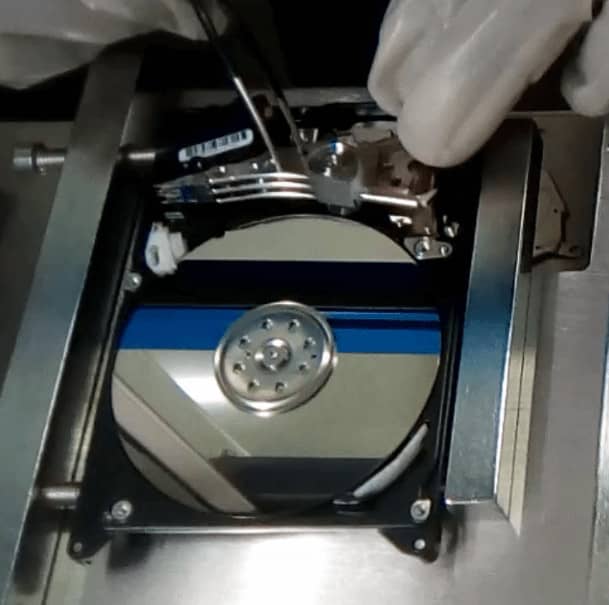
After opening it up, I found that the USB interface and the hard drive circuit board were integrated. Due to the fragile nature of the read/write heads of mechanical hard drives, they are more prone to failure.
To recover this type of hard drive, the process can be broken down into several steps
1. Replace the hard drive’s circuit board with a SATA board. This is because recovery tools have better compatibility with SATA and provide better functionality and features during the recovery process.
2. Replace the damaged read/write heads with new ones.
3. Create an image of the hard drive. This is the most time-consuming step, and for a 1TB drive with fewer bad sectors, it can take up to three to four hours. If there are more bad sectors, the time required can be longer or shorter.
4. Analyze the file system and extract the data. If the disk surface is in good condition, the data can be extracted directly. Otherwise, scanning may be required.
Specific steps of Data Recovery
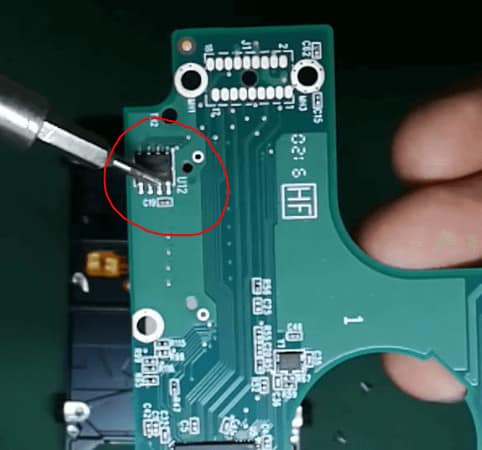
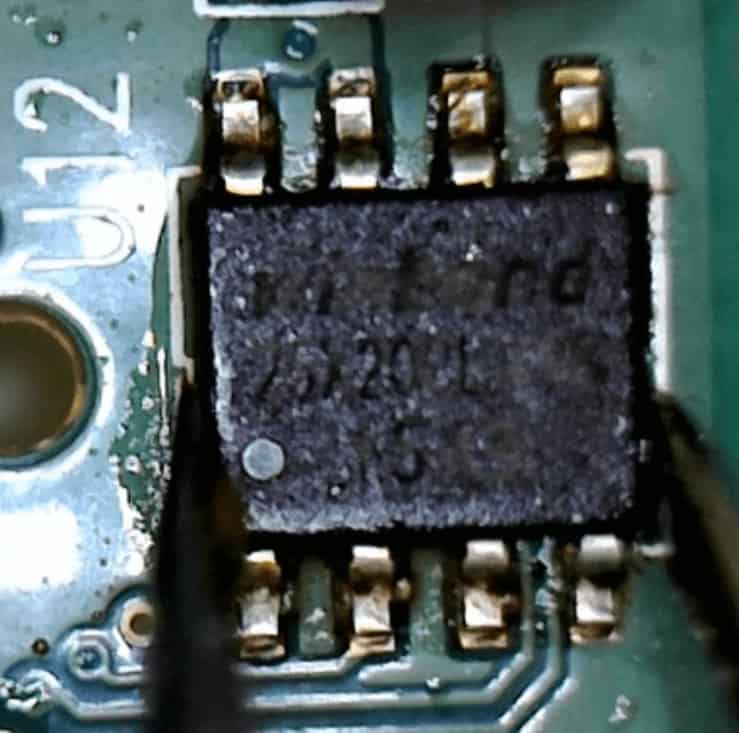
Step 1: Involves replacing the circuit board. The circuit board has an octagonal chip (ROM) that stores some initialization parameters of the hard drive boot. Therefore, it is necessary to transplant this small chip to the SATA circuit board.
Step 2: Involves replacing the damaged read/write heads with new ones in a clean environment.
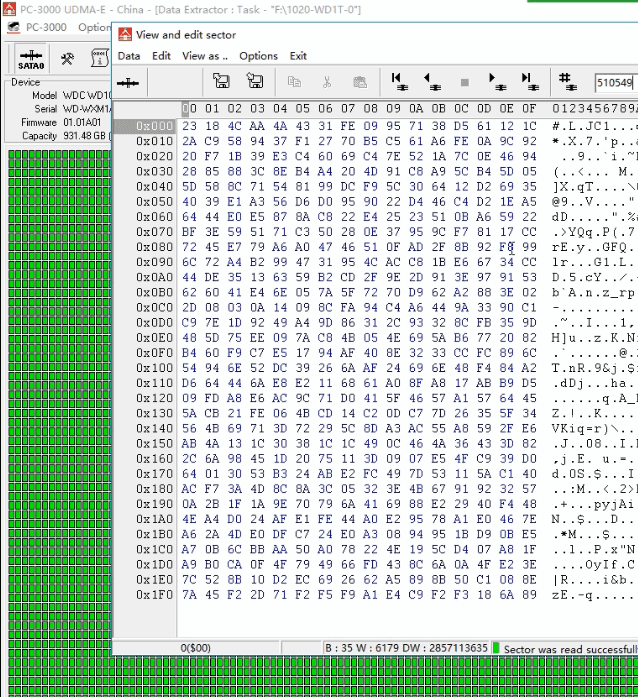
Step 3: Involves installing the SATA circuit board back into the faulty hard drive, connecting it to PC3000, entering the factory program, backing up the firmware, and then entering the imaging tool to begin the image creation process.
Step 4: involves opening the created image in the recovery software and extracting the data based on the actual situation. Common software tools used for this include R-STUDIO, WINHEX, and others.

This is the process I used to recover this external hard drive. If you find it useful, please feel free to follow us. Comments and private messages are welcome.


